Free Life Cycle Playdough Mats (Printable for Preschool Science)
Free life cycle playdough mats are a simple way to turn early science lessons into something hands-on and memorable. When we first used them, I was surprised how much more my son retained just by building each stage himself instead of only reading about it.
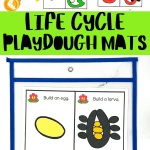
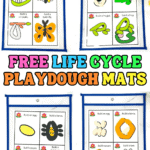
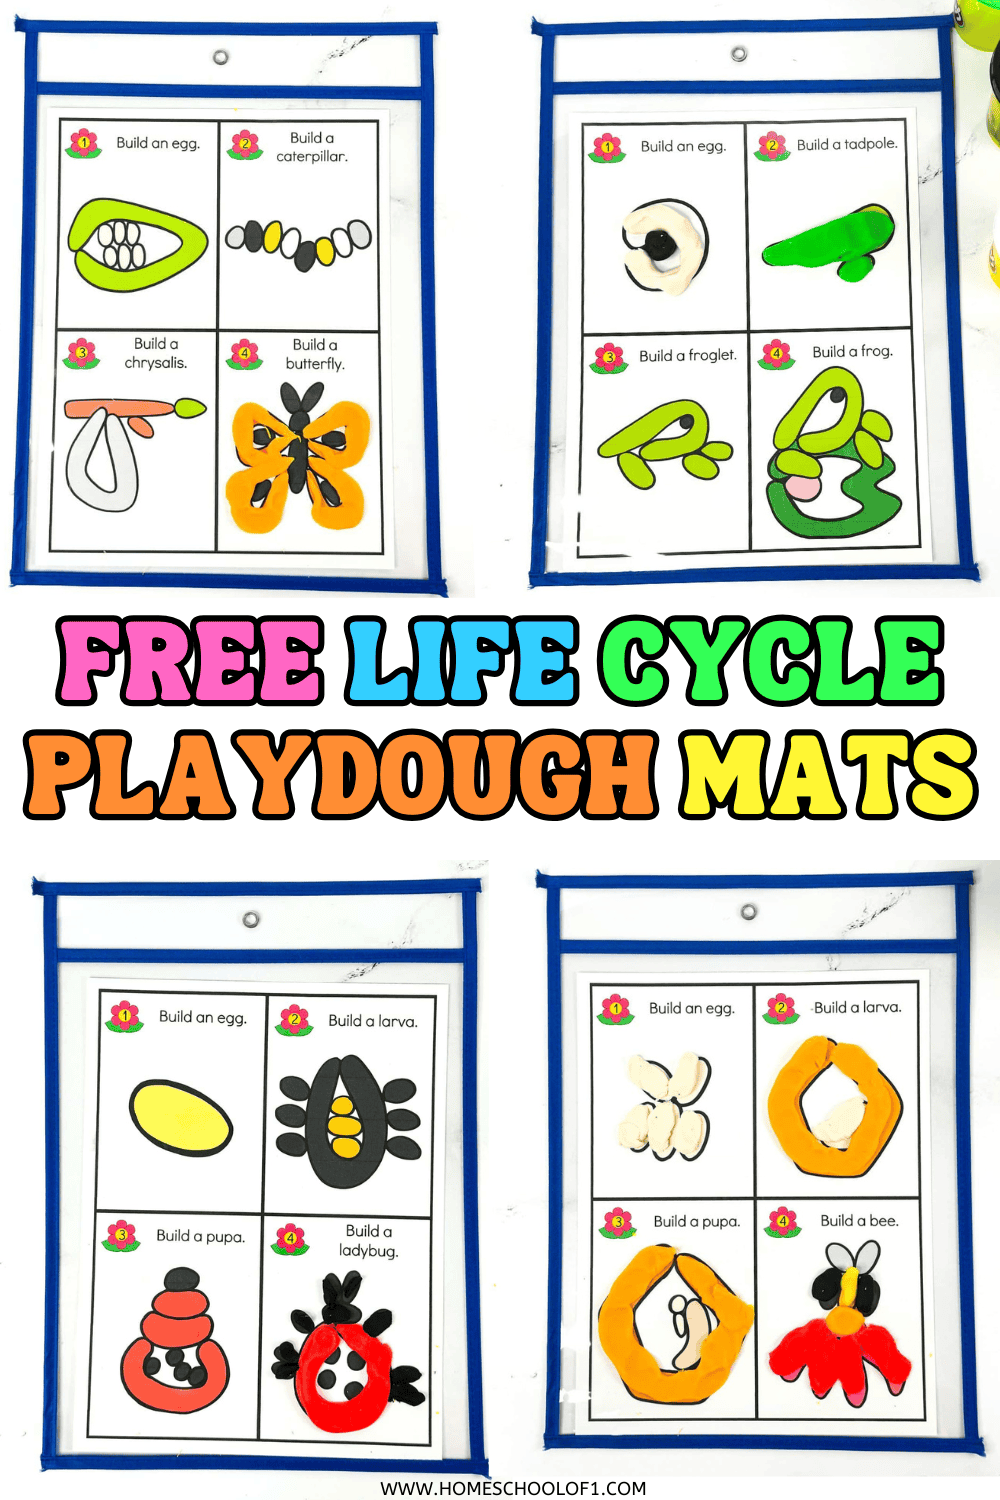
These printable mats walk kids through the life cycle of a bee, butterfly, frog, and ladybug, helping them visualize sequencing, vocabulary, and transformation in a tactile way. Instead of passively looking at diagrams, they’re shaping eggs, rolling larvae, and forming adult animals right on the page.
It’s an easy preschool and early elementary science activity that strengthens fine motor skills while reinforcing core life cycle concepts, and it works just as well at the kitchen table as it does in a classroom center.
What’s Included in the Life Cycle Playdough Mats
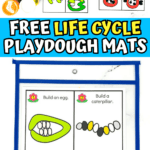
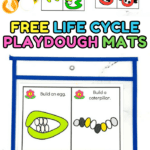
These printable life cycle mats cover four familiar animals: bee, butterfly, frog, and ladybug. Each page shows the full cycle with clearly labeled stages, making it easy for kids to build, sequence, and review.
Instead of simply looking at diagrams, children recreate each stage using playdough, reinforcing vocabulary and transformation through movement and touch.
Each mat is formatted as a single-page PDF designed for standard US letter paper.
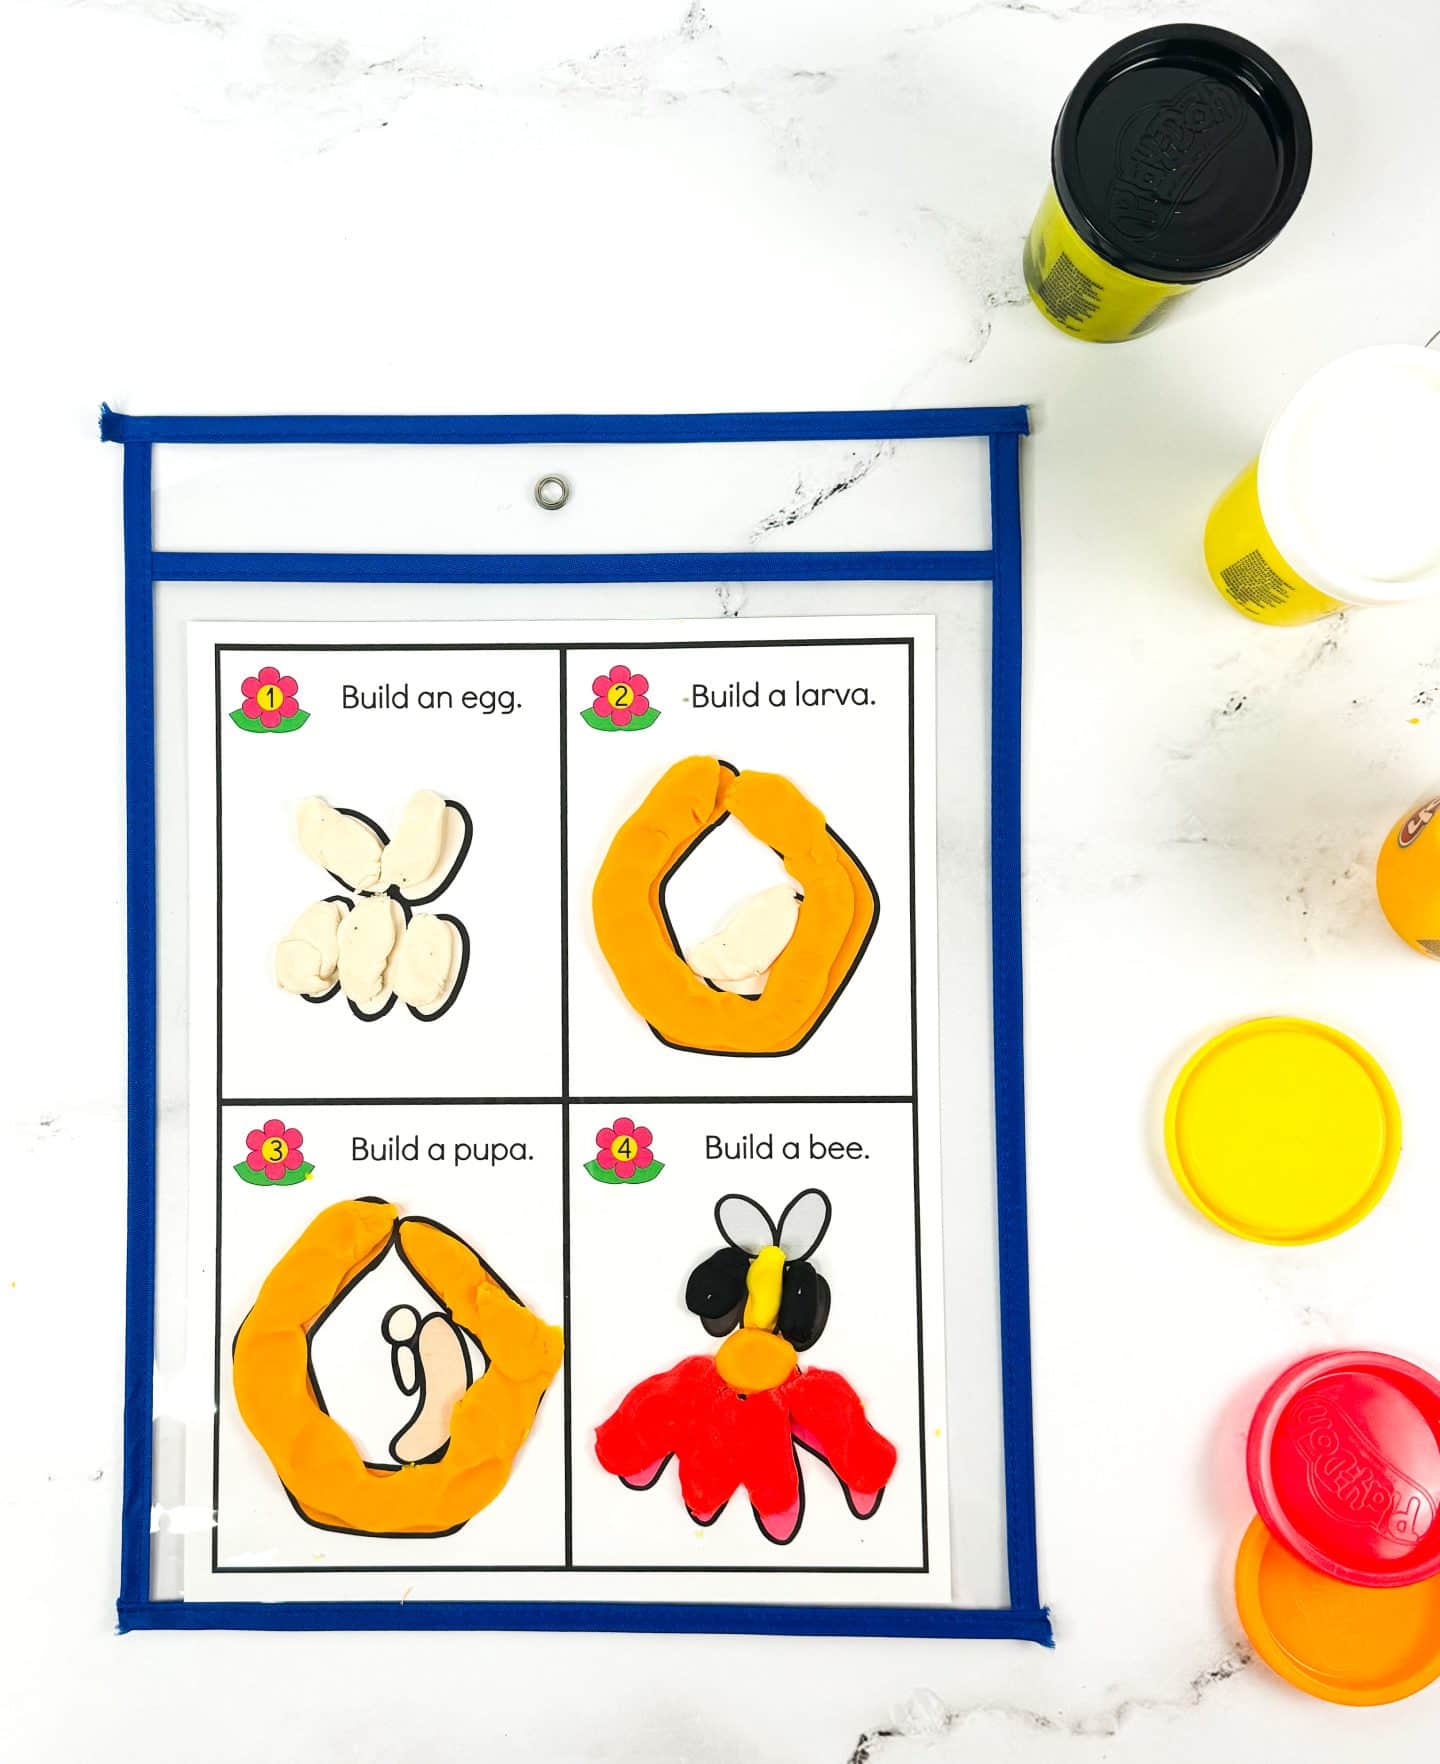
Bee Life Cycle Playdough Mat
Start by rolling tiny white balls to represent the eggs laid inside a honeycomb cell. For the larva, shape a soft curved piece using cream or pale yellow dough, it should resemble a small worm.
Form the pupa in orange or yellow to show the transformation stage, then finish with a striped black-and-yellow adult bee. We usually press wings into the dough with a coin and use a toothpick to add simple antennae.
For extra reinforcement, you can pair this with our bee life cycle coloring sheet and have kids label each stage after building it.
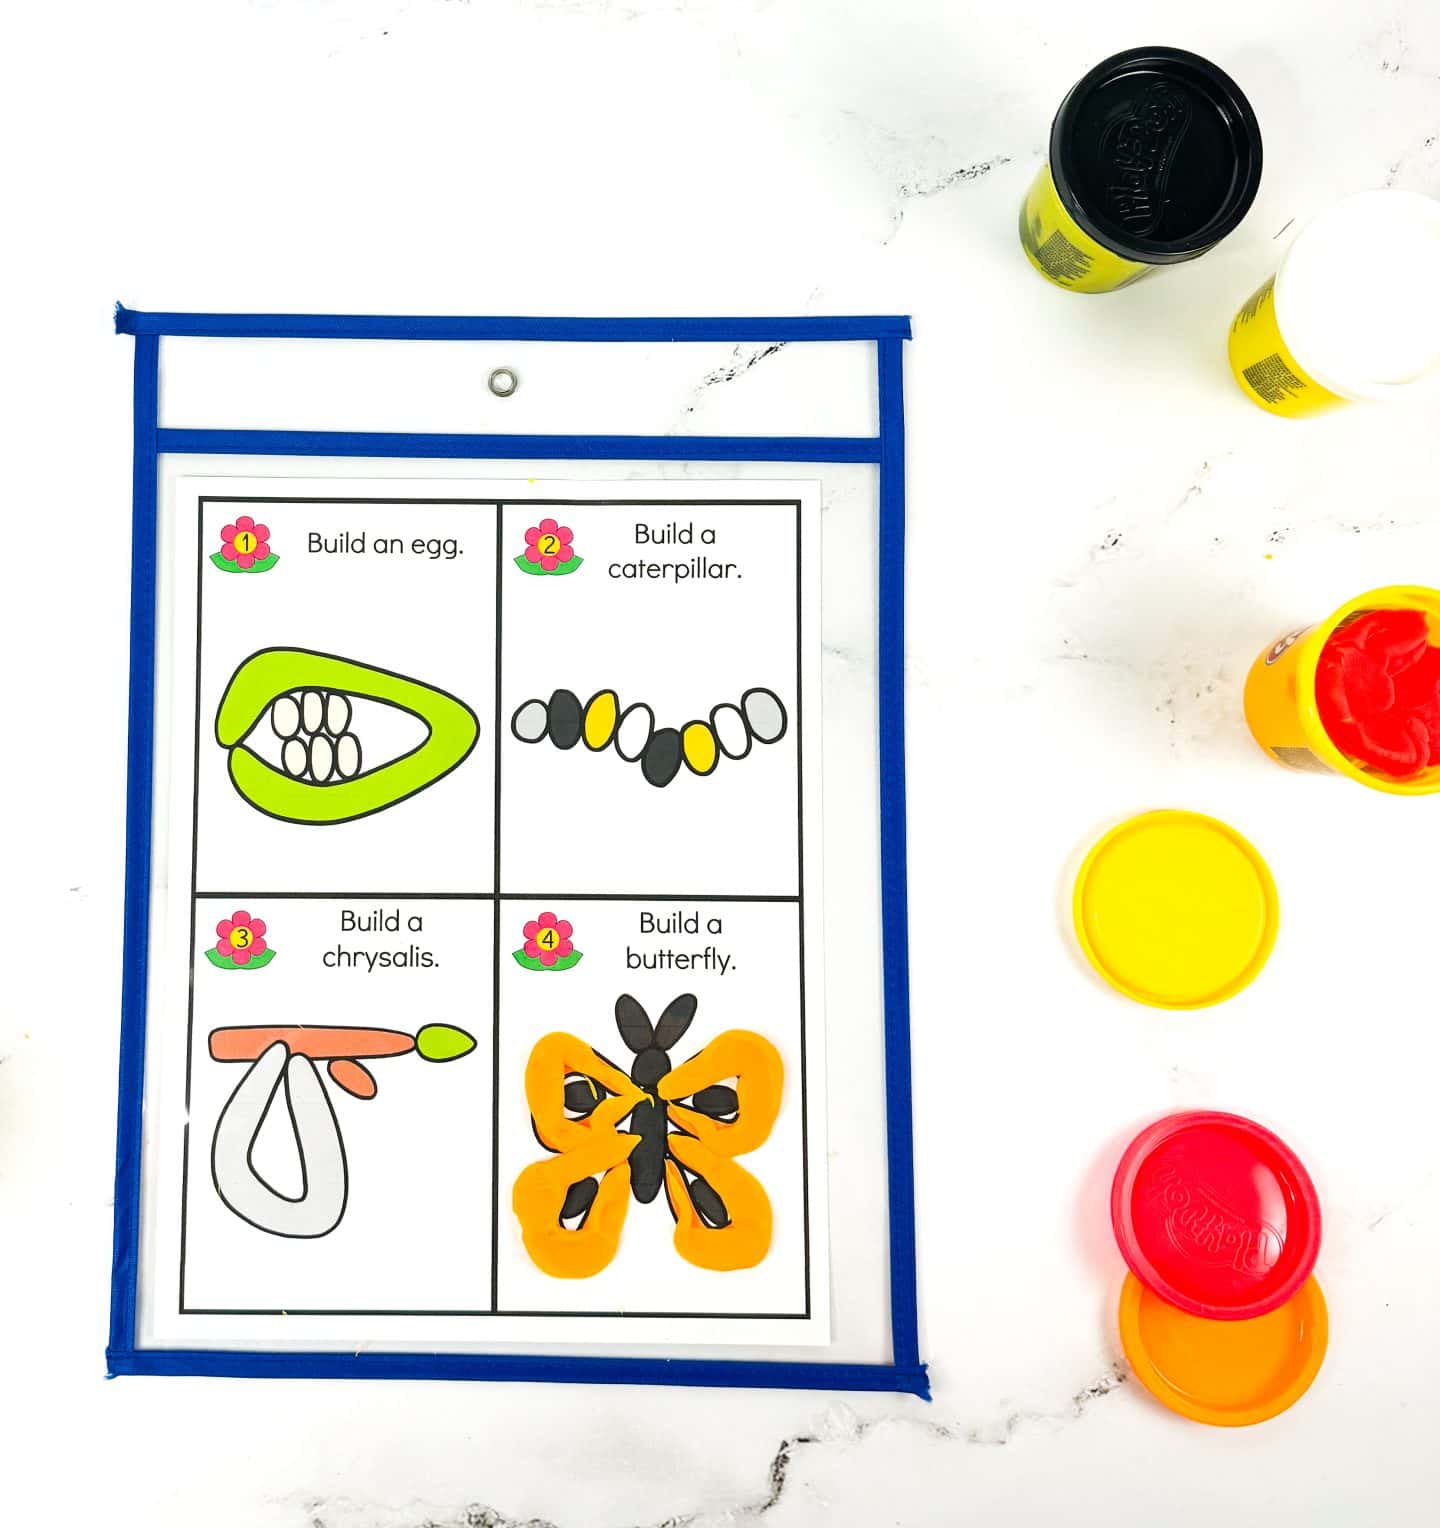
Butterfly Life Cycle Playdough Mat
Begin with tiny white dots for the eggs, usually laid on the underside of leaves. Keep them small, this helps kids see how dramatic the change is later.
Next, build the caterpillar by rolling small segments of dough and pressing them together. Stripes or alternating colors make it more realistic (and more fun).
For the chrysalis, shape green or brown dough into a teardrop and gently pinch or twist the top to resemble where it hangs from a branch.
Finish with the adult butterfly. Flatten two larger pieces for wings and add patterns using a fork, toothpick, or pencil tip to create symmetry on both sides.
To extend the activity, try our butterfly scavenger hunt and see how many real-life examples of the life cycle you can spot outdoors.
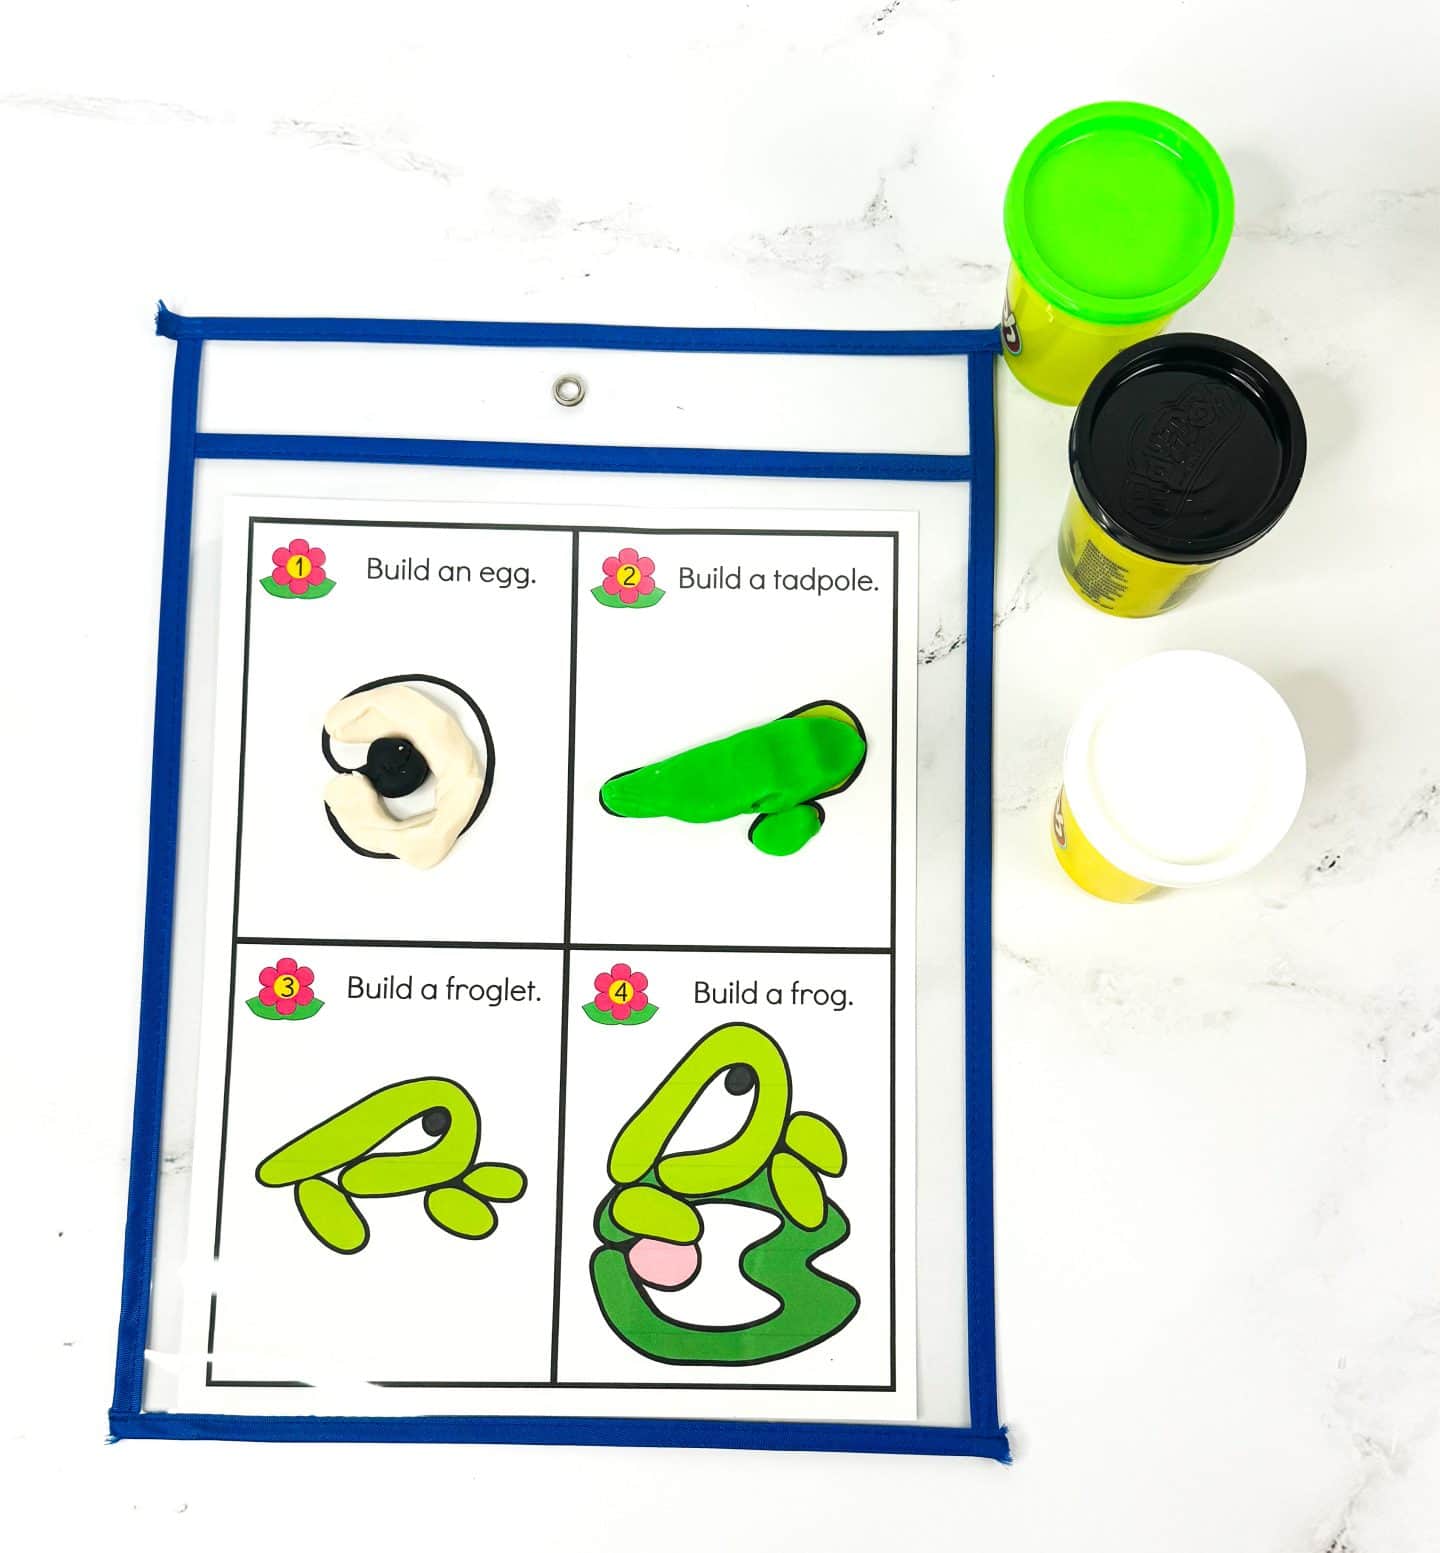
Frog Life Cycle Playdough Mat
Begin by pressing together small black-and-white dots to create a cluster of frog eggs, like you’d see floating in pond water. Keeping them grouped helps kids visualize how many hatch at once.
Roll a small oval for the tadpole and gently pull one end to form a tail. Add tiny raised dots for eyes so the shape clearly changes from egg to swimmer.
For the froglet, keep a shortened tail but add two small back legs to show the transition stage. This is usually the step that sparks the most questions.
Finish with the adult frog by shaping a rounded body and long back legs. We use the end of a pen cap to press in eyes and lightly mark toes for extra detail.
If you’d like to reinforce vocabulary after building, pair this with the printable frog life cycle coloring page and have kids label each stage in order.
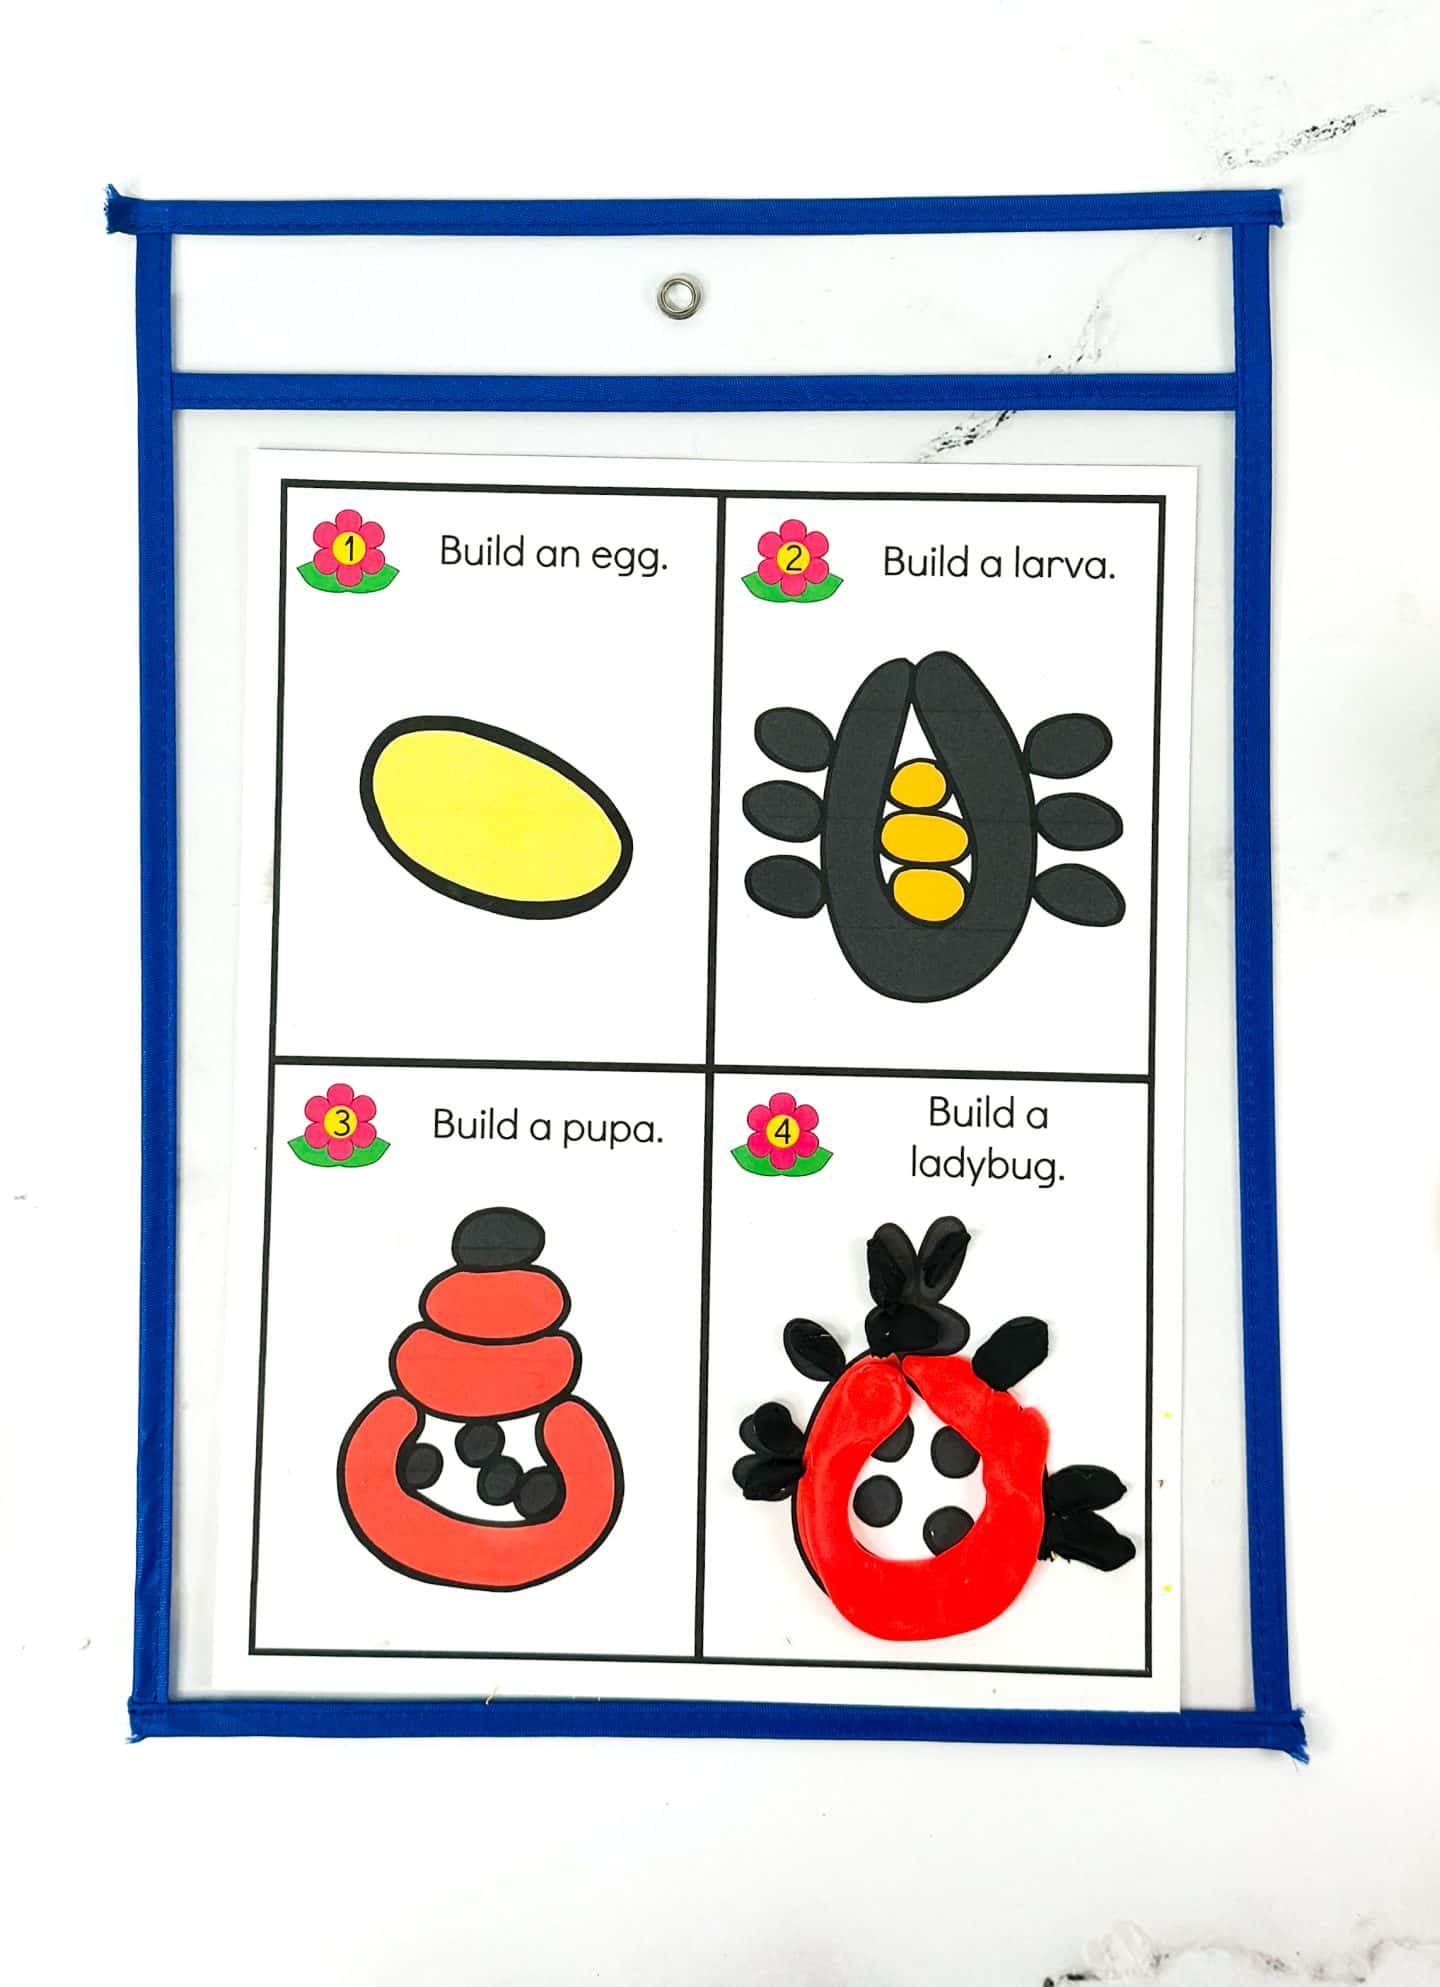
Ladybug Life Cycle Playdough Mat
Start by rolling tiny white or pale yellow balls for the eggs, which are laid in clusters on the underside of leaves. Keeping them grouped helps show how they hatch close together.
Next, form the larva using black dough. Roll it into a slightly curved shape and press in small segments so it resembles the elongated, spiky body ladybug larvae are known for.
For the pupa, shape a simple oval using red or orange dough. This is the quiet transformation stage, so it helps to pause and talk about how much change is happening even though it looks still.
Finish with the adult ladybug by flattening red dough into a rounded shell. Add black spots with a pencil tip and attach tiny legs and antennae to complete the life cycle.
To reinforce the stages afterward, you can pair this with the ladybug life cycle coloring page and have kids label or sequence each step independently.
**This post may contain affiliate links. As an Amazon Associate and a participant in other affiliate programs, I earn a commission on qualifying purchases.**
How Playdough Mats Support Early Science Learning
Playdough adds a physical layer to concepts that are otherwise abstract. When children roll eggs, stretch a tadpole tail, or flatten butterfly wings, they’re not just seeing the stages — they’re reconstructing them in order.
That hands-on sequencing reinforces vocabulary like egg, larva, pupa, and adult in a way that sticks longer than a worksheet alone.
It’s also helpful for students who struggle to sit through longer lessons. The movement keeps them engaged while still focusing on science content.
In a classroom, these work well as a small-group center or independent station. At home, they’re an easy way to review a lesson without pulling out a full workbook.
Slide the mats into dry erase pockets or laminate them, and they’ll last through multiple units or seasonal rotations.
Picture Books to Reinforce Life Cycle Learning
Adding a simple picture book before or after the playdough activity helps reinforce vocabulary and sequencing.
Here are a few preschool-friendly options that work well alongside these mats:
The Very Hungry Caterpillar by Eric Carle – A classic introduction to the butterfly life cycle with clear visual progression from egg to caterpillar to butterfly.
From Tadpole to Frog by Wendy Pfeffer – A straightforward nonfiction option with real photos that pairs nicely with the frog mat.
The Honeybee by Kristen Hall – A rhythmic look at a bee’s development that works well for read-aloud time.
Reading first, then building the stages with playdough, helps children connect story language with scientific vocabulary. These books work especially well before using the life cycle worksheets in a small group or science center.
Get Your Free Playdough Mats Here!
Ready to grab your free printable? Just pop your name and email into the form below, and it’s all yours!
Tip: Use a personal email address (like Gmail), school or work emails sometimes filter printable links.
If you don’t see the form below, click here to get the free PDF.
Last Updated on 2 March 2026 by Clare Brown